

Full disclosure: WPML is a great WordPress translation plugin. We’re writing a series of posts to help users get the most from some of WPML’s common features. Weglot is also a great tool for translating your WordPress site, but sometimes all you need is a little help to point you in the right direction with the WPML plugin, which is what this post will do for WPML automatic translation.
In this article, you’ll learn how the WPML automatic translation feature works and how you can start using machine translation in WPML.
Then, we’ll also share an alternative way to apply automatic machine translation to WordPress that can offer a more comprehensive approach.
How does WPML automatic translation work?
In the past, there was no WPML automatic translation feature and your only options were to use manual translation or outsource your translations to external translation services.
That changed in WPML 4.0. This release added a new Advanced Translation Editor interface to the Multilingual CMS and Multilingual Agency packages and their associated add-ons.
If you use the new Advanced Translation Editor, you can also use WPML automatic translation on a piece-by-piece basis.
However, there are a couple of important conditions to remember about the WPML automatic translation feature:
- You can only use the WPML auto translate feature for posts, pages, or custom post types. That is, you cannot use WPML automatic translation for content that you translate via the WPML string translation interface — it’s only for post/page content.
- You can only use WPML automatic translation on a piece-by-piece basis. That is, you can only automatically translate one post at a time — you cannot automatically translate all of your posts with one button click.
Additionally, the WPML automatic translation feature is not 100% free — you might need to pay extra on top of your purchase depending on your site’s size. When you purchase the Multilingual CMS or Multilingual Agency packages, WPML gives you 2,000 words of free automatic translation. After you’ve exhausted that 2,000-word quota, you’ll need to purchase additional credits to continue using machine translation. There are three plans:
- Personal: 1,500 words for $0.99.
- Business: 20,000 words for $9.99.
- Publisher: 150,000 words for $49.99.
To activate the WPML auto translate feature, go to WPML → Settings. Then, find the How to translate posts and pages option and select Use the Advanced Translation Editor.
Then, when you’re editing individual pieces of content, WPML will automatically launch the Advanced Translation Editor. Once you’re in the Advanced Translation Editor, you can use the WPML automatic translation feature by clicking the Translate automatically button.
The WPML auto translate feature is based on Microsoft Azure’s machine translation engine, not Google Translate.
Weglot: an alternative to WPML automatic translation
Depending on your needs, you might be happy with the WPML automatic translation feature.
However, some people might prefer a simpler, more comprehensive way to use machine translation on WordPress.
Weglot is a popular WordPress translation plugin that also offers machine translation but applies it in a different way.
As soon as you activate Weglot, it uses machine translation to automatically translate 100% of your site and create an SEO-friendly multilingual website.
Like WPML automatic translation, Weglot translates content from your posts, pages, and custom post types. However, Weglot goes further and also translates content from your theme and plugins, without requiring any special compatibility.
For example, if you’re using the WooCommerce plugin to create an eCommerce store, Weglot can automatically translate all your products and shop pages. Similarly, you can automatically translate content from a page builder WordPress plugin.
Then, you can always go back and manually edit any of your translations if needed.
Here’s a quick look into how Weglot and WPML stack up against each other:
How to use Weglot automatic translation on your WordPress site
With Weglot, you can be up and running with machine translation in just a few minutes.
To get started, register for a Weglot account and install the Weglot plugin from WordPress.org.
Then, go to the new Weglot area in your WordPress dashboard and…
- Enter the Weglot API key that you received after creating your Weglot account.
- Choose the default language that your site currently exists in. For example, English.
Choose the new language that you want to translate your content into (or multiple different languages). For example, Spanish.
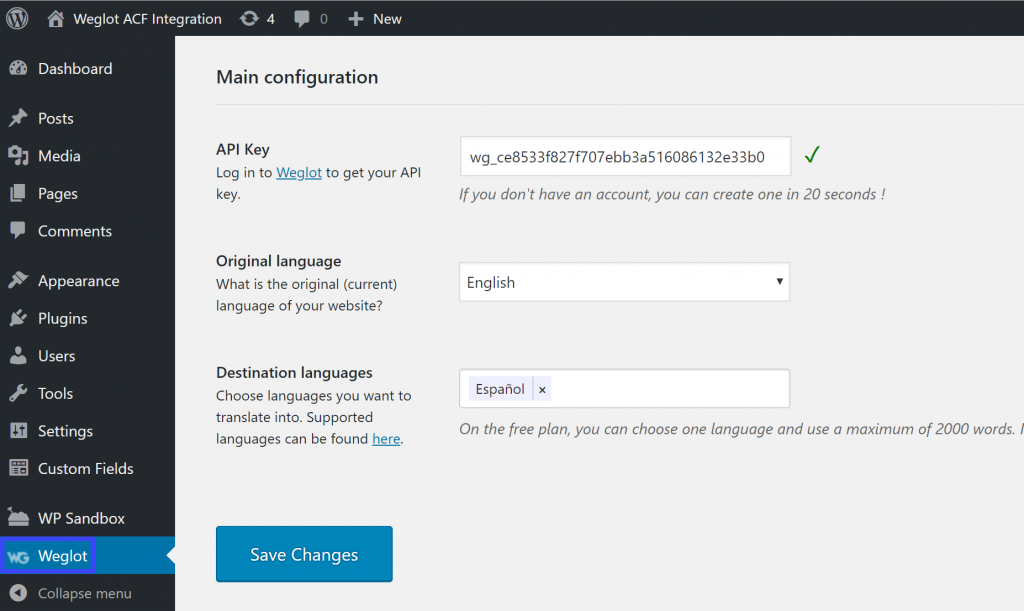
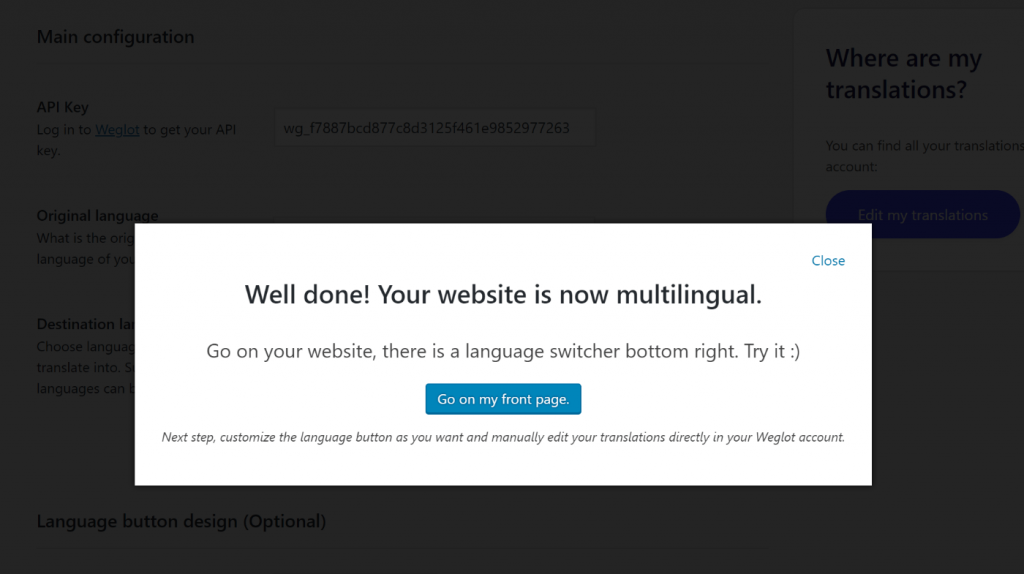
Once you’ve made those choices, click Save Changes and Weglot will use machine translation to translate 100% of your site:
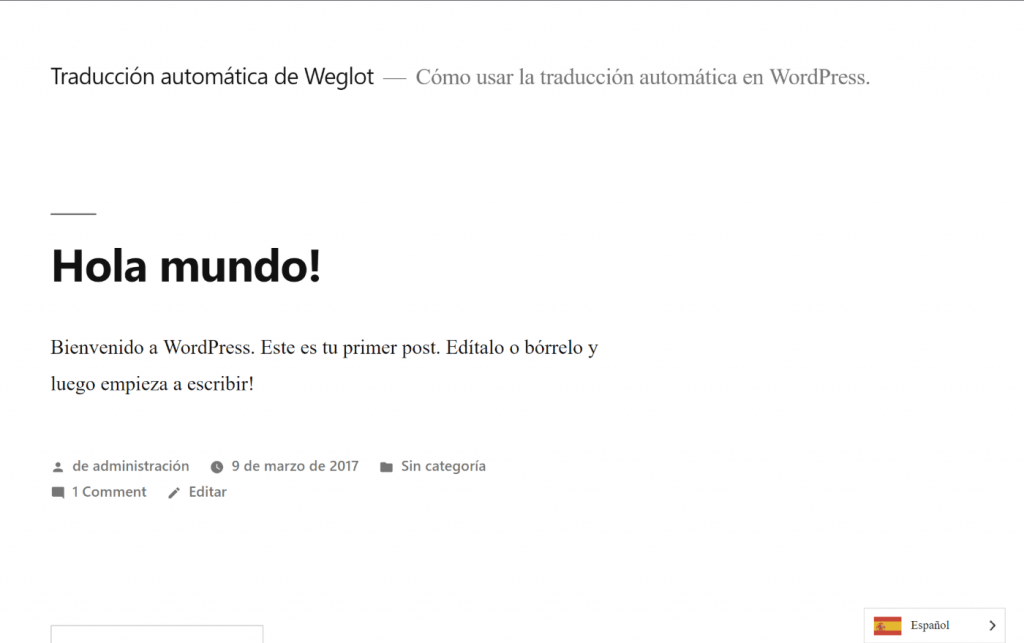
To check your translations, you can use the front-end language switcher in the bottom-right corner of your site:
And that’s it! As far as automatic translation goes, you’re finished and you already have a working multilingual website just a few minutes after activating Weglot.
You can manually refine those automatic translations
While Weglot uses machine translation to generate your site’s initial translations, you can always go back and have a human manually review and change your multilingual content.
Weglot gives you three ways to do this. You can…
- Manage translations yourself via your Weglot dashboard.
- Create special “Translator” accounts with limited access to your Weglot dashboard. For example, you could use these accounts to work with a freelancer.
- Outsource translations directly to professional translation services.
The Weglot dashboard itself gives you two translation management interfaces. Both of the interfaces sync with each other, as well as your live WordPress website — they just offer a different approach to translation management.
First, you can use a translations list interface that shows you the original language version on the left and the translated version on the right. This interface also lets you add translations to an order that you can submit to professional translators:
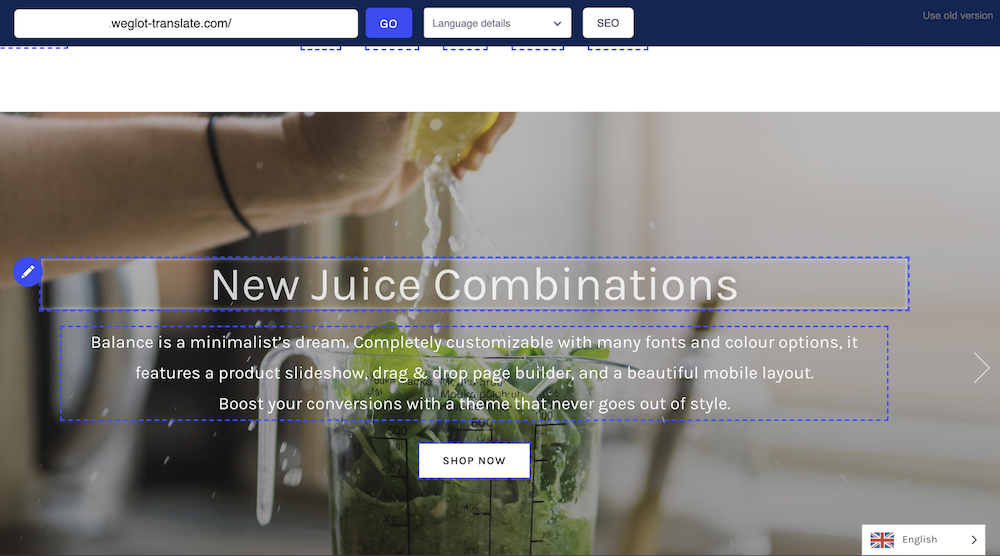
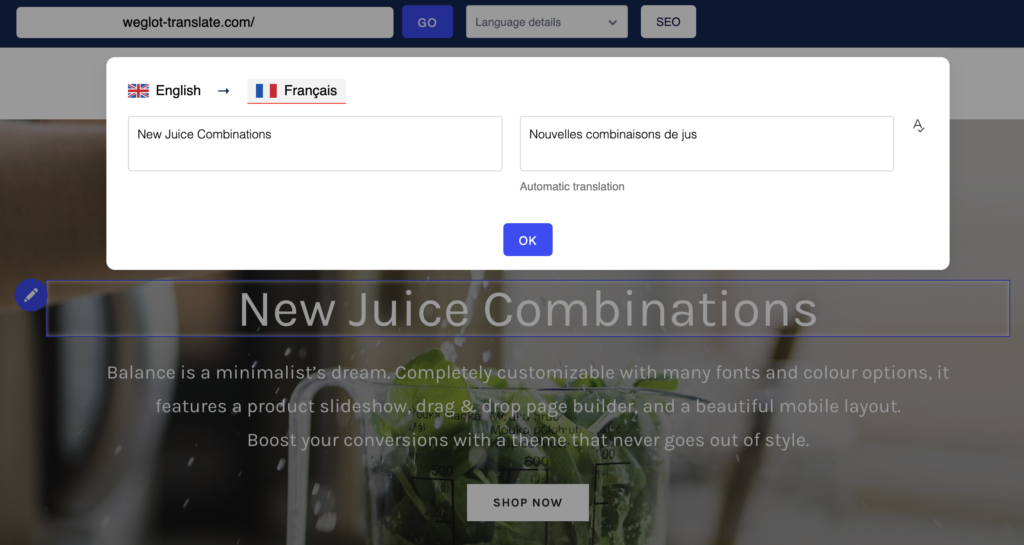
Second, you can use the Visual Editor. This editor lets you work on a live preview of your website. To edit a translation, you can hover over any text on the live preview of your site and click the pencil icon:
That will open a popup where you can make your desired changes:
Weglot also gives you some other helpful tools to adjust your translations. For example, you can automatically search and replace a specific word or phrase across your entire site, which is helpful if you want to adjust one specific aspect of your machine translations:

You can control the front-end language switcher, too
As part of translating your WordPress site, Weglot also adds a front-end language switcher to help your visitors find their preferred languages.
If you’d like to change this language switcher from its default floating location in the bottom-right corner of your site, you can also display your language switcher…
- As separate menu items or a drop-down.
- As a WordPress widget.
- With a shortcode.
- In your site’s HTML.
Get started with WordPress automatic translation
The WPML automatic translation feature lets you use machine translation on content from your posts, pages, and custom post types. Once you activate the Advanced Translation Editor, you can automatically translate content on a post-by-post basis.
If you’d prefer a WordPress multilingual plugin that lets you automatically translate 100% of your site’s content right away, you might be interested in the Weglot plugin. Weglot uses machine translation to translate 100% of your site’s content within the first few minutes and it also lets you use machine translation on content from your theme and plugins.
To get started with Weglot, sign up for a 10-day Weglot free trial.

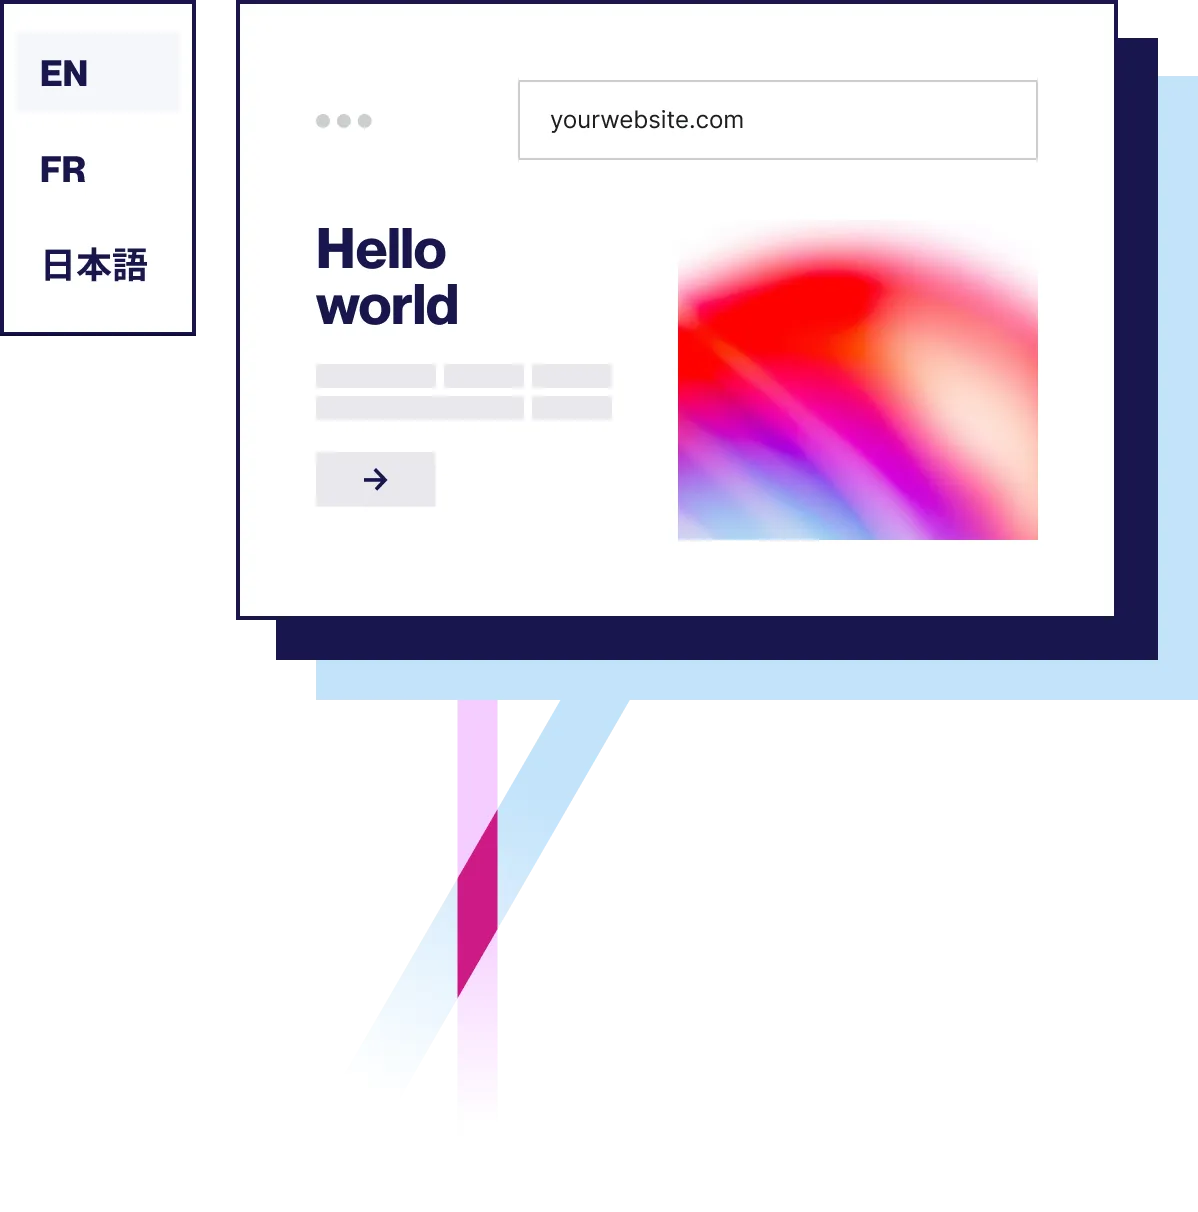
Time to open your website to the world
Get started for free and have a multilingual website up and running in minutes.


