

Try Weglot for free

.avif)


When it comes to creating a website on Webflow the possibilities and freedom are endless.
And, we’re big lovers of the no-code tool Webflow because of the flexibility it’s brought to many of our users. We’ve even built our own multilingual Webflow website with the help of a web agency – Finsweet – which you’re free to clone.
Apart from being super flexible and user-friendly, Webflow recently launched Webflow Localization, their native localization solution that allows you to create a multi-language site for your new markets.
This option is great for those with a small website and no plans to scale, but if you’re looking for a Webflow localization solution that can grow with your website, Weglot might better suit your needs.
So, if you’re ready to turn your Webflow website into a multi-language site, we’ll show you step-by-step how to do that with either Webflow Localization or Weglot. No matter which solution you end up using, check out our library of custom language switchers at the end of the article, which you can clone right now on your site!
Yes, Webflow can be multilingual, but the approach you choose depends on your specific needs and technical requirements. You have two main paths to make your Webflow website multilingual:
Webflow Localization is the platform's native solution that integrates directly with the Webflow Designer. It's ideal for teams who want to manage translations within their existing Webflow workflow and prefer a design-centric approach to localization.
Third-party solutions like Weglot offer a more automated approach with instant AI translation, separate translation management, and broader compatibility including Webflow Ecommerce stores, glossary
Both options allow you to create fully functional multilingual Webflow websites, but they differ significantly in their implementation, pricing models, and feature sets. Let's explore each option in detail to help you make the right choice for your project.
Webflow has recently launched Webflow Localization, which makes it possible to make your website multilingual. With it, you can design, build, and customize localized sites directly in the Webflow Designer. Here's what you can do:
With these features, Webflow makes it feasible to adapt your website for various linguistic groups and ensures that it’s optimized for search engines with a number of multilingual SEO features included.
To add Webflow Localization simply follow these steps:
Head to your Settings panel and click Localization.
Webflow Localization has expanded since its initial launch. It now offers:
However, key workflow limitations remain. Users still need to manually trigger translations by right-clicking elements or selecting pages one by one, then repeat this process when adding new content. And while Webflow offers machine translation, and now lets you set the tone and formality of translations per target language on its Advanced Localize add-on or Enterprise plans, translations often still need to be revised or reviewed. There are no AI capabilities to help you instantly improve or refine them once they’re generated.
Additionally, while Webflow's new edit mode (which replaced the legacy Editor at the end of 2025) does now support localization, anyone working on translations still needs a Workspace seat ($15-$39/month per person). This can make Webflow Localization one of the more expensive options when you factor in team access costs. While Webflow does offer TMS integrations that allow translation work to happen outside the platform, for teams managing translations directly in Webflow, this remains a significant barrier.
Finally, Webflow Localization isn't compatible with Webflow Ecommerce, leaving online store owners without a native multilingual solution.
So for teams looking for a more streamlined workflow, Weglot offers an alternative approach.
Note, for a like-for-like comparison, you can check out our Webflow Localization vs Weglot page.
Or, if you prefer videos, check out our comparison video:
Or, try Weglot for free today on your Webflow website and see how easy it is to go multilingual.
Webflow’s localization’s solution naturally has a design centric approach to website translation which is great for those wanting to create a multilingual website directly in the web design phase.
However, as we mentioned, it’s still missing a few features that make going multilingual even more convenient.
That’s where Weglot steps in. It was built to translate your Webflow website instantly, allowing you to turn your create a Webflow Project multilingual in just a couple of steps.
Weglot removes the complexity of website translation by offering an end-to-end AI website translation solution that includes automatic content detection and translation, full translation editing control handled through a separate interface, multilingual SEO setup, and more.
Plus, you can instantly generate on-brand translations by setting up your AI Translation Model, which learns from your custom instructions, Glossary, and past manual edits.
With a clear pricing structure, what you see is what you get with Weglot’s paid plans. Plus, you can localize your site for free with Weglot's free plan, whereas Webflow Localization only has paid tiers.
| Feature | Webflow Localization | Weglot |
|---|---|---|
| Pricing model | Per locale ($9-$29/locale/month) | Per word count + languages (Free; paid plans start at $17-€769/month) |
| Free plan | Preview only (can't publish) | Yes: 2,000 words, 2,000 AI credits, 1 language |
| Team member access | Requires Workspace seats ($15-$39/month per person) | Included at no extra cost (all plans) |
| AI translation | All plans | All plans (including Free) |
| Glossary | Enterprise only | All plans (including Free) |
| Media translation | Advanced ($29/locale/month) | All plans (including Free) |
| Auto language redirection | Advanced ($29/locale/month) | All plans (including Free) |
| Translated URLs | Advanced+ ($29/locale/month) | Pro ($87/month) |
| Access to pro translators | Via TMS integrations (separate cost) | Business ($32/month) |
| Translation statistics | Not available natively | Pro ($87/month) |
| Multi-site management | Separate per project | Centralized dashboard (all plans) |
| Ecommerce support | No | Yes (all plans) |
| Enterprise SSO | Webflow Enterprise required | Enterprise plan |
For a 50,000-word website translated into 3 languages, managed by a team of 3 translators:
| Feature | Webflow Localization | Weglot |
|---|---|---|
| Plan required | Essential ($9/locale/month) or Advanced ($29/locale/month) | $32/month (Business) |
| Base cost (3 languages) | $27/month (Essential) or $87/month (Advanced) | $32/month |
| Word limit | $72–$144/month | $32/month |
| Team access | 10,000 words/month per locale (Essential) or 50,000 words/month per locale (Advanced) | 50,000 words total |
| Total monthly cost | $72–$204/month | $32/month |
Weglot also offers significant multilingual SEO benefits as well, so you can reach your global audience. Choose between subdirectories or subdomains, automatically added hreflang tags, and get your site visible on international search engines—these features are available in all plans, even free.
Why teams choose Weglot:
The choice between Webflow Localization and Weglot for your multilingual Webflow website depends on your specific requirements:
Choose Webflow Localization if:
Choose Weglot if:
Adding languages to your Webflow site takes just 5 minutes with Weglot. Check out the video, or follow the written steps below.
1. Create a Weglot account: This is where you’ll manage all your translations in a separate dashboard. This means you don’t need to invite people to the design editor in your Webflow project.
2. Add your domain name: The native language of your site and the languages you want to add (Note, if you’re using a temporary Webflow domain name, use this integration or wait until you’ve purchased a custom domain to continue).

3. Configure your DNS records: Do this to create your subdirectories or subdomains (you can choose between both options with Weglot). Go to your domain name provider account and the DNS records tab. Create a new entry – select CNAME. Add the language code of the language you’re adding in ‘name’ and in ‘data’ add the value provided in your Weglot Dashboard. Then click ‘check DNS’.

4. Configure settings: The final step requires you to go to your Webflow admin area ‘Settings’ – ‘Custom Code’. Go to ‘Head Code’ and ‘Add code at the end of the head tag’. Copy and paste the JavaScript HTML snippet from your Weglot account

5. Wrapping up: Save changes and publish your site.
And that’s it! You now officially have a multi-language website Webflow site, enhancing the user experience for your international customers!
Weglot works by detecting, translating, and displaying your Webflow site instantly. We give you a first layer of AI translation using leading providers DeepL, Google Translate and Microsoft (included in your monthly plan), together with full editing control to edit your site translations how you want. Whether you leave them as is, use our AI Translation Model, add a translation team to the project, or order pro translation directly in your Weglot project, we give you the choice.
This is a stand out feature as it means you don’t need to manually activate translations on each page for every language like you do with Webflow Loalization - and factor in that you’ll need to repeat this step when you add new pages or make updates.
An important point to also add here is that by handling your translations outside of your Webflow project, you won’t need to give your team or translators access (and therefore purchase more seats at $19 a month) to the design editor.
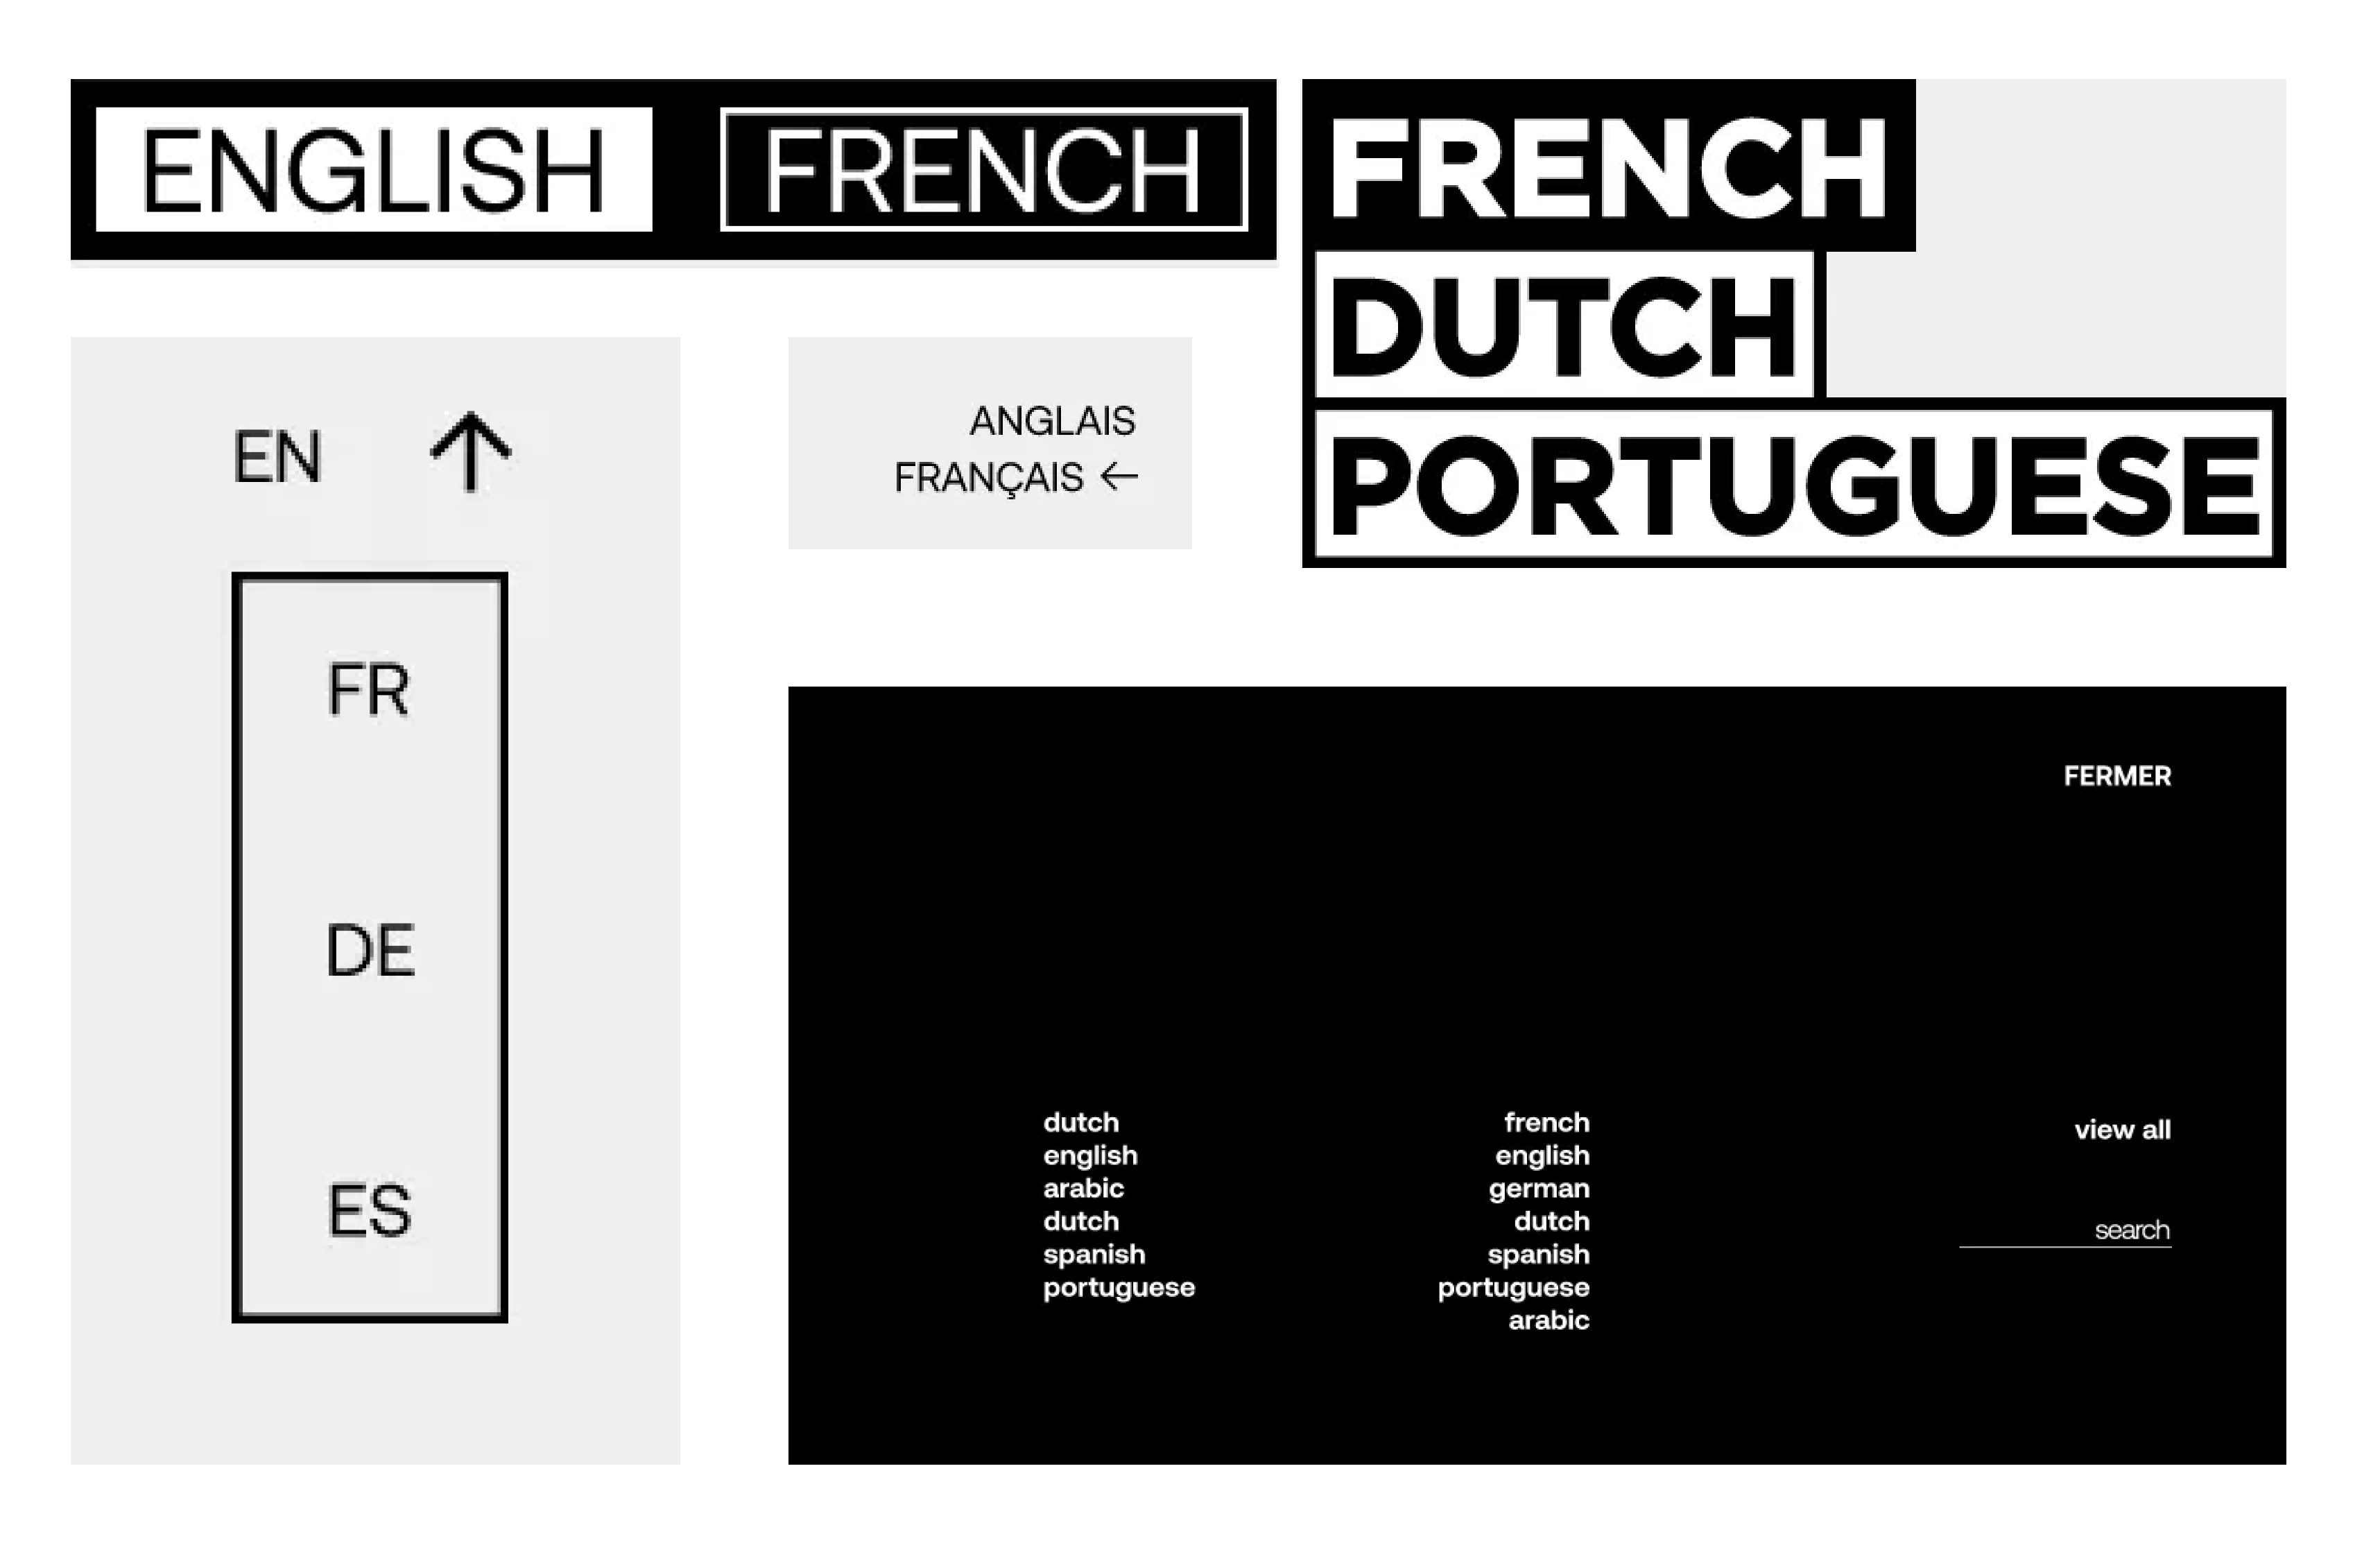
Let’s also talk language switchers. Both Webflow Localization and Weglot come with a default one that you can customize. This allows your website visitors to switch between the different language versions of your site.
Once you’ve added Weglot to your Webflow project, a language switcher will automatically be added to the bottom right of your website.
The first option for editing this is using our simple language switcher visual editor. This allows you to easily drag and drop your dropdown switcher to a different location within your website design.

You can also select a number of simple design changes, including:
This useful feature also allows you to see your switcher on mobile devices. That way, you can make custom edits that ensure the user experience remains unchanged regardless of screen size.
Next up are the language switcher options you can directly clone, so you won’t need to lift a finger when it comes to design.
As big fans of Webflow here at Weglot HQ, we’ve teamed up with two leading Webflow agencies to create language switchers you can add to your multilingual site without custom code.
Back in 2020, we worked with Finsweet on 16 different language switchers with our UI kit and in early 2024, we designed a further 5 new designs with Digidop.
In fact, our language switcher collaboration with Finsweet was so popular they were cloned more than 8,000 times which lead us to collaborate once again with the team to bring you a 2024 update, Weglot UI Kit 2.0! Back with an updated version of the original Webflow language switcher project, plus some news ones to enjoy, giving you access to 20 switchers to match any website's design.

Check out Finsweet’s Webflow tutorial on adding one of their custom language switchers.
And here's a look into the language switchers we made with Digidop, see the Digidop drop 👉here (with tutorial).
So, you can now choose from 25 different designs and templates, which you can easily add through the Webflow designer.
We can put theory aside for a moment and take a look at the success stories of companies that used Weglot for adding multiple languages to their website and customizing their language switchers.

Firstly, it would be wrong of us not to mention our very own Webflow site, Weglot 😉. We weren’t lying when we said we were fans of Webflow, and that’s reflected in our own choice of using it to display our global presence.
We went custom with our language switcher to fit our new branding. And as champions of website localization, we chose the native language name in ours to ensure the user experience is clear for our English, French, German, Italian, Spanish, Japanese, and Dutch website visitors.

The next example comes from textile creator i-Mesh who takes things a little more custom (which is only right if you use Webflow).
They’ve added their language switcher in their left-hand sticky sidebar, so it’s visible to all website visitors scrolling on their site. And rather than going for language code or name, they’ve simply used half of the word, complementing the modern and simple style of their site.
Language switchers don’t need to be complicated, and i-Mesh is a clear example of that.

French resource management software Napta chose Weglot to launch its expansion in Europe thanks to our automation features.
These greatly reduced the team's internal translation management workflow, which was entirely manual prior to finding a translation plugin.
“Having a multilingual website and being able to manage it without any technical capabilities, coupled with the time-saving process of manually optimizing things that are already translated has been a game changer for our multilingual SEO performance.”
Estelle Barthes, Communications and Content at Napta
And that language switcher? Placed in the navbar (a common theme, it would seem!), it matches perfectly with the rest of their site.
And by choosing the language code, they’ve made it clear that their site has multilingual functionality.
Just like Weglot, Dropcontact also hails from Paris and showcases its prowess through a Webflow-based website. Their site is not just about aesthetics; it features engaging scroll animations and a soothing, two-tone color palette that exudes a sense of calm and cohesion.
What truly sets Dropcontact apart is its seamlessly integrated language switcher, strategically positioned within the main navigation bar. This feature not only enhances the aesthetic appeal of the site but also underscores Dropcontact’s commitment to accessibility and inclusivity.


This logistics provider has gone for something slightly different both in terms of the position and design of their language switcher. It's located in the footer, with each language accompanied by a flag in the dropdown menu.
Whilst flags might not be everyone’s cup of tea, they do have their place – especially if you’re specifically doing business in the countries of the flags you’re using.
(FYI where it’s not a good idea: e.g. if you’re hoping to do business with Spanish-speaking countries and use the flag for Spain, you’ll end up alienating Latin American countries).
They initially used the subtleness of a language code. But then, they included the full language name, plus a flag in a dropdown, which makes the language switcher subtle yet eye-catching at the same time.

Last, we have an AI-powered Web3 wallet called Armor Wallet. Following the same theme as Napta, they’ve also gone for a dropdown with the language code rather than the full language name.
And, we’ve noticed a Weglot x Finsweet language switcher design cloned straight into their site! With Japanese and simplified Chinese on their site, the overall design has stayed the same, regardless of the different character lengths of each language.
We’ve talked you through how to create a multilingual Webflow website, looking at both Webflow Localization and Weglot, and hopefully you’ve now found the perfect solution for making your Webflow website multilingual.
And, for those wanting to customize, we’ve taken a little bit of the work away from you by joining forces with Finsweet to create 14 different language switchers you can add to your site right now!
Weglot pricing starts from €15 a month, and you can start your free 14-day free trial to get testing right away. We have free plans available, right up to enterprise level, so you can find a plan that best fits your needs.

We’ll get your first languages live. You decide how far you want to go. Try Weglot for free today.
Trusted by 70,000+ global brands


Weglot is tested and trusted by brands worldwide since 2016. Join them today.


The best way to understand the power of Weglot is to see it for yourself. Test it for free and without any engagement.
A demo website is available in your dashboard if you’re not ready to connect your website yet.


